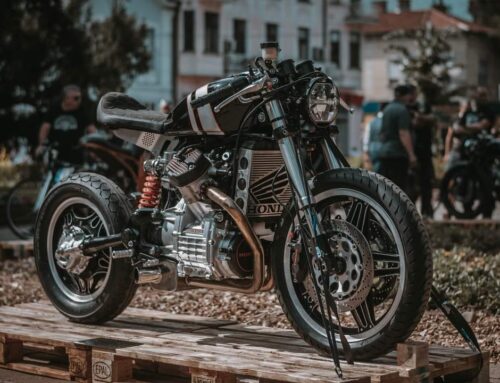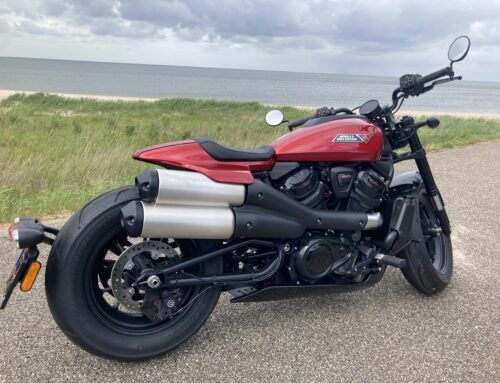
Not sure which road to take or no idea where to begin? Maybe this post will give you some more structure and will help you with your café racer building plan.
Before you start: Buy a proper workshop manual and join relevant online forums! And maybe consider buying one of these motorcycle books to get some inspiration.Overview Café Racer Building Plan
- Choose a bike
- Decide which way you want to go
- Strip your bike down
- Check all parts which need to be rebuild or replaced
- Rebuild parts
- Buy new parts
- Reassemble
- …ride it like you stole it!
Before You Start: Budget?
In Holland we say: “a hobby may cost a little”. Considering that building a café racer is a hobby for you, keep in mind that it will bring a lot of costs. You have to buy a bike, parts, repair or rebuild things, paint parts etc. And if you don’t have any tools, you’ll need to buy them too (tools are more like an investment, but still: they will cost money). So before you start: set a (realistic) budget! Also check out this post about motorcycle tools.
It’s not easy to give a you a budget because it depends on a lot of factors:
- The price and condition of the bike
- Parts you want (or need!)
- Your skills
- Your wishes
For example: if you want to have a cool (gold!) USD front fork keep in mind that these kind of upgrades are very expensive. You need to buy a good fork, brake pads, disc brakes, new bearings etc. And if you also want a laced wheel you will need a custom hub, rim and spokes too! Also check out this post about lacing a motorcycle wheel.
If you don’t have all the money up front, decide how much money you want to spend on your project per month and how much time you want to spend.
Tip: Buy & use proper tools
You don’t have to buy a complete workshop facility at once, but if you’re buying tools, be sure that you buy proper tools. If you need special tools you can buy them on the fly when you need them (or just borrow them).
Step 1: Choose a Base Bike
Got a budget in mind? Cool! Now you can start searching for a bike! Already have one? Skip this step if you want.
There are a lot of cool base bikes to turn into a cafe racer. I’ve made a list of the most popular cafe racer base bikes. There is no such ting as “the” best bike; every bike has it’s own unique characteristics and possibilities. Prices and conditions vary a lot, and the best bike for your project is also based on your budget. You can pick up an old Virago for under $500, but you can also buy a Guzzi Le Mans for over $10,000. And that’s only the bike! You will need (a lot) of parts and you will have to spent money on things you let others do for you (if necessary).
One tip: if it’s one of your first projects, consider starting with a bike that has been modified a lot. This makes it easy for you to learn from others and find the right information and parts. Traditionally the Honda’s are a common choice: lot’s of them to find for a good price, tons of (new) original and aftermarket parts to buy and a big community to help you with (re)building your bike.
Not sure where to start? Check out my post about picking a bike for your café racer project.
Step 2: Decide Which Way You Want to Go
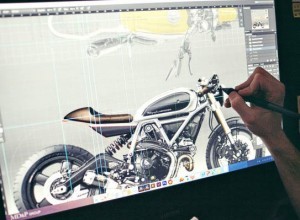
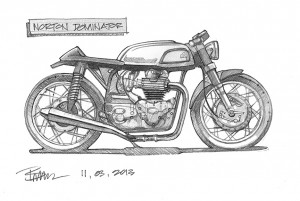
You don’t have to draw a 3D CAD or Photoshop version of your dream bike (but if you can manage that, go on!). The most important thing is that you have a direction. You don’t have to build an exact copy of an existing bike (no!!!), but you can mix up design elements and parts used by others to create your own design.
Step 3: Strip the Bike Down
Ready to get your hands dirty? It’s time for some serious action!
Don’t enjoy this moment too much: stripping a bike down doesn’t make you a mechanic yet (rebuilding will!). I know when I stripped down my bike in less than a day, I was really enjoying it and I was very proud, not realizing that this was just the beginning and the most easy part. If you don’t have a plan (or a budget), it’s very hard to get a real start of your project.
Tip: Work clean and organised
It’s a good habit to work clean and organised. If you have dirty/greasy/rusty parts: first clean them and if you you take stuff a part: organize them. Put the parts, bolts, etc. in bags or trays, label them and take pictures (also before you take this a part!). This makes it possible to just walk away and forget for a while.
Step 4: Check all Parts Which Need to be Rebuild or Replaced
In step 2 you’ve decided the way you want to go. Some parts you will replace, like the handlebar for clip ons and the stock seat for a neat café racer seat etc. It’s a good habit to make a list of parts you want to rebuild or replace. It’s also a wise advise to set a (realistic) budget per item, for example:
- CNC clip ons: $60 – $100
- New grips: $40
- Café racer seat: $150 – $350
- Rearsets: $250 – $350
- Progressive rear shocks: $400
- Painting Gas Tank: $150 – $250 (or paint it yourself)
- Powdercoating Frame: $180 – $250
- New tires: $250
- Paint: $120
- New head light: $50
- New Lithium battery: $120
- Pod filters (don’t forget the jets): $120
- New brake pads F+R: $150
- New chain & sprocket(s): $220
- New spark plugs: $30
- New oil + filter: $50
- Etc.
- Etc.
- ….. etc.!
This is just an short example with example prices, and far not a complete list. It also depends on the state of the base bike. In worst case scenario’s you also want to rebuild the forks, wheels, brakes, engine, carbs etc. These more delicate jobs can make your project very expensive.
Watch out: do underestimate the costs of smaller items like wiring, clamps, nuts, bolts, exhaust wrap, paint etc.
Some stock parts simply never see your café racer again but can be sold. But I suggest you keep everything a part and start selling these items after you finish your project.
Step 5: Rebuild Parts
This is the part where the real craftsmen stand out! In step 4 you’ve bought some new parts or replacement parts, but some original parts need to be rebuilt. Here you can challenge yourself.
Got some experience with working on motorcycles? Great, use it! Only know how to ride a motorcycle but don’t know how it actually works? Great, learn it! Don’t be afraid if you’ve never seen the inside of a bike. It’s no rocket science (yes, I know sometimes it can be…!) and pretty easy to learn, especially with the vintage machines. And if you’ve chosen your base bike wisely, you can find a lot of information in forums an communities.
If you’re patient and willing to invest time in this process, it’s can be the most satisfying part of your project. But beware: this particular phase is the real time consumer and is easily underestimated. Stuck in the middle? Don’t hesitate to find help! And keep in mind that if you outsource things, that you have to respect others’ schedules.
Tip: Take time to learn new skills
Rome wasn’t build overnight, it took time, just as your café racer project will take time. If you need to learn new skills, take time for this and most important: just do it and practice a lot! The only way to master the art of custom bike building is to do it, over and over. And don’t hesitate to ask others for help!
Step 6: Buy New Parts
Saved some money? Time to spend it! Maybe not as satisfying as rebuilding parts yourself, buying new parts is always fun!
Read my post about buying cafe racer parts first!Online
There are a lot of shops, both online and offline where you can buy café racer parts. Online shops I like are:
- http://www.dimecitycycles.com/
- http://www.benjiescaferacer.com/
- http://cognitomoto.com/
- http://carpyscaferacers.com/
eBay is also a great source for finding your parts online. But please beware of cheap Chinese parts, since the quality can be disappointing. Follow the rule “if it’s too cheap to be true, it’s rubbish”. You don’t want to rush in to a corner without brakes or with your clip ons off the bike…
Offline
Want to feel the parts before you buy them? Then go to a real shop! Since the custom motorcycle scene is constantly growing, more and more specialized shops with custom parts show up. There are also trade shows and expositions where you can buy parts. Sure you just can order everything online, but buying parts is also a part of the hobby: go to a shop, talk with others, get advice and get to know other enthusiasts!
Step 7: Reassemble

Tip: Don’t rush it
If you’re working on your café racer project in your spare time, set a realistic deadline. Unless you’re able to work fulltime on your project, keep in mind that it’s very time consuming. Also keep in mind that when you’re outsourcing tasks, that you have to respect others’ schedules.
Step 8: …Ride it Like you Stole it!
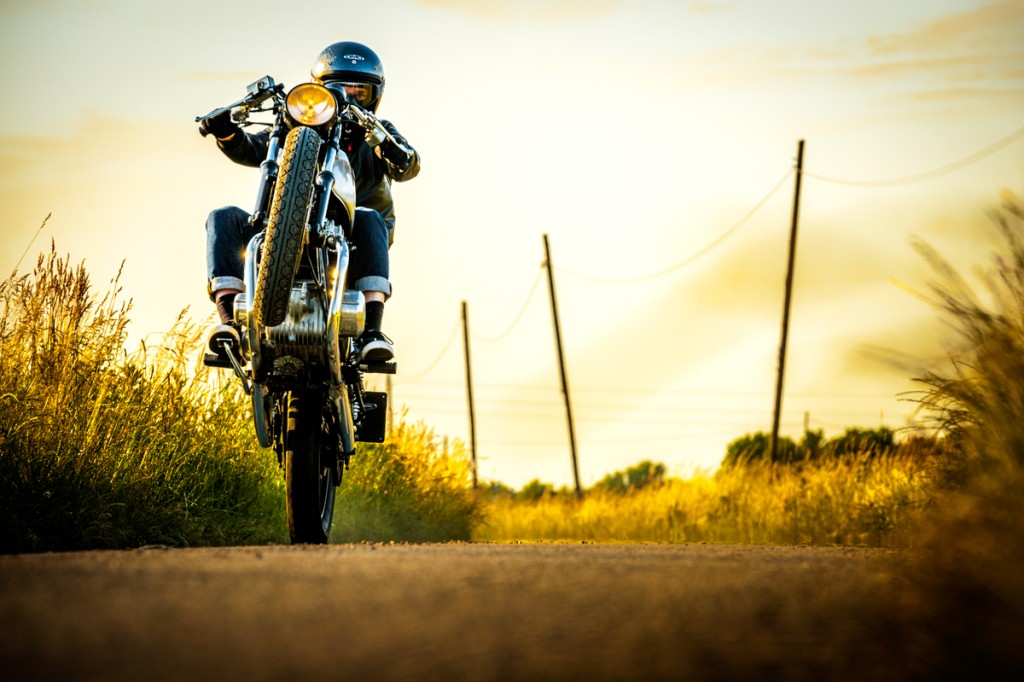
And if you’re back: please send us your pictures and story to share it with the world! ;)
Make sure that you double check your bike after the first 500 miles for little errors!
Got some tips for a café racer building plan? Or just want to join the discussion? Reply!
